
Configurations
Configuring Recognition Workflow
Recognition Workflows define the approval path and steps a recognition must follow before it is finalized. This ensures that awards are properly reviewed, approved, or escalated as needed.
Step 1: Navigate to Workflow Configurations
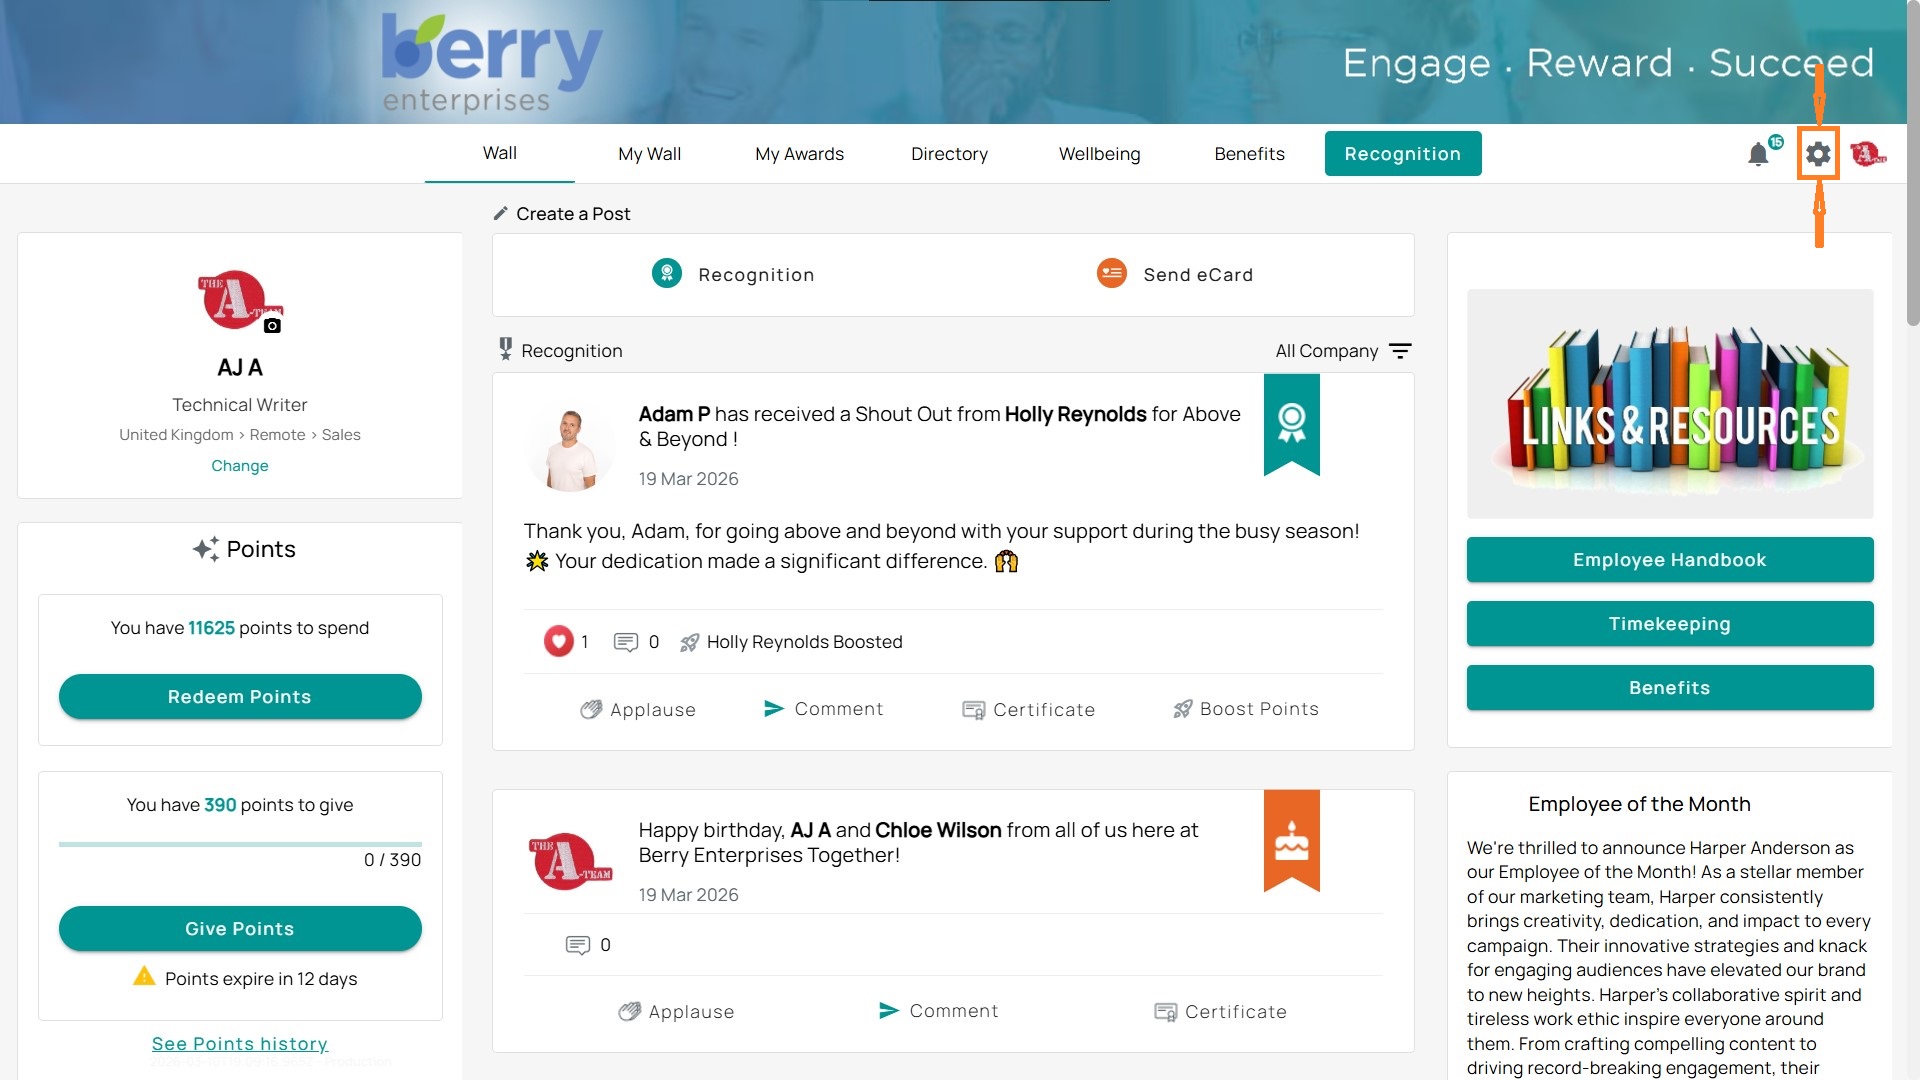
- Click the Admin Gear in the top-right corner.
- On the left-hand menu, expand Recognition.
- Select Workflow Configuration.
Step 2: Add a New Workflow
- Click + Add Workflow.
- Enter a Name for the workflow (e.g., Outstanding Performance – Boost Approve).
- Define the number of Steps. Each step represents a stage of approval or action in the recognition process.
- Example: Employee of the Month has 2 steps, while High 5! has *1 step.
Step 3: Assign Usages
This determines which recognition types will follow this workflow. Each workflow can be tied to:
- Recognition Levels (e.g., Big Idea, Employee of the Month)
- Categories (e.g., Innovation – 100, Customer Service)
Step 4: Edit or Delete Workflows
- Pencil icon: Edit workflow details, steps, or assignments.
- Trash icon: Delete a workflow (only if not actively used).
Step 5: Best Practices
- Keep non-monetary awards and points funding workflows to 1 step for quick recognition (e.g., High 5!, Shout Out).
- Use multi-step workflows for awards that need to be reviewed and approved by a manager, admin, or committee (e.g., Employee of the Month, Outstanding Performance).
- For workflows requiring approval steps, always include fallback rules for handling nominations when approvers are unavailable.
- Important: For approvers to award points from their own points funding allocation, workflows must be configured with the Boost Approval step type.
- Always confirm workflows align with your organization's recognition policies.
Certificate Configuration
Certificates provide a formal way to acknowledge employee recognition, milestones, or point awards. Admins can use default templates or upload custom certificates to match company branding.
Step 1: Navigate to Certificate Configuration
- Click the Admin Gear in the top-right corner.
- On the left-hand menu, expand Recognition.
- Select Certificate Configuration.
Step 2: Custom Certificates
- At the top, you’ll see the Custom Certificates panel.
- Click + Upload Certificate to add your own.
- Assign the certificate to specific workflows or features so it applies correctly (e.g., Employee of the Month or Service Awards).
Step 3: Certificate Defaults
The system comes with prebuilt default certificates, including:
- Default Automated Birthdays Certificate
- Default Points Certificate
- Default Service Awards Certificate
- Default Recognition Award Certificate
- Default Awards Certificate
- Recognize Certificate
Each default has an Upload Certificate option beside it, allowing you to replace it with a branded design. There is also a Revert to Default option if you’ve uploaded a custom certificate but want to return to the original system default.
Step 5: Best Practices
- Use branded designs (logos, corporate colors, tone).
- Match certificates to the type of recognition (formal for service, lighthearted for shout-outs).
- Test certificates by running a recognition workflow to confirm formatting
Wall Post Template Configuration
Wall post templates control the default text and structure of recognition posts that appear on the Recognition Wall. These posts are triggered by recognition activities such as birthdays, service awards, points awards, or eCards.
Step 1: Navigate to Wall Post Configuration
- Click the Admin Gear.
- In the left menu, expand Recognition.
- Select Wall Post Template Config.
Step 2: View Existing Templates
The page lists all available templates with these columns:
- Name → The template title (e.g., Default Birthday WallPost).
- Date Created → When the template was added.
- Feature – Which recognition feature it belongs to (e.g., Automated Birthdays, Points, Awards, Service Awards, eCards). Depending on your program configuration, some features may require multiple wallpost templates based on the tags used (e.g., 30-day Milestone vs. 5 Year Milestone).
- Title Text → The default message structure.
Examples:
- Birthday → Happy birthday, {{Recipient}} from all of us here at {{CompanyName}}!
- Recognition → {{Recipient}} received recognition from {{Sender}} for {{Category}}
- Service Awards → {{Recipient}} received a {{YearsFromHireDate}} Year Milestone Award
Step 3: Template Variables
Templates rely on placeholders (dynamic fields) wrapped in {{ }}, which auto-populate when the post is created:
- {{Recipient}} → Name of the recognized employee.
- {{Sender}} → Name of the person giving recognition.
- {{Award}}, {{Category}}, {{Level}}, {{Points}}, etc.
This ensures each post is personalized without requiring manual edits.
Step 4: Create a New Template
- Click + Create template (top right).
- Select the Feature (e.g., Points, Awards, ServiceAwards).
- Add a Title Text using dynamic placeholders where needed.
- Save, and it will appear in the template list.
Step 5: Manage Templates
- Edit icon → Update the wording of a template.
- Duplicate icon → Copy an existing template for reuse.
- Delete icon → Remove a custom template.
- System defaults (e.g., Default Recognition WallPost) can’t be deleted, but you can override them with new templates.
Why this matters: Consistent templates keep recognition posts professional, aligned with company culture, and automated. Admins can fine-tune language (formal, casual, branded) while keeping personalization intact.
Configuring Points Funding Assignments
Configuring Upload File Encryption