Be Well Admin Functionality (Configuration)
The Admin Panel is your control center for configuring and managing your Be Well program. From here you can adjust program-wide settings, manage participants, create challenges, communicate with your members, and access reporting. This page walks you through the core configuration areas so you can set your program up correctly before launch and adjust it as your program evolves.
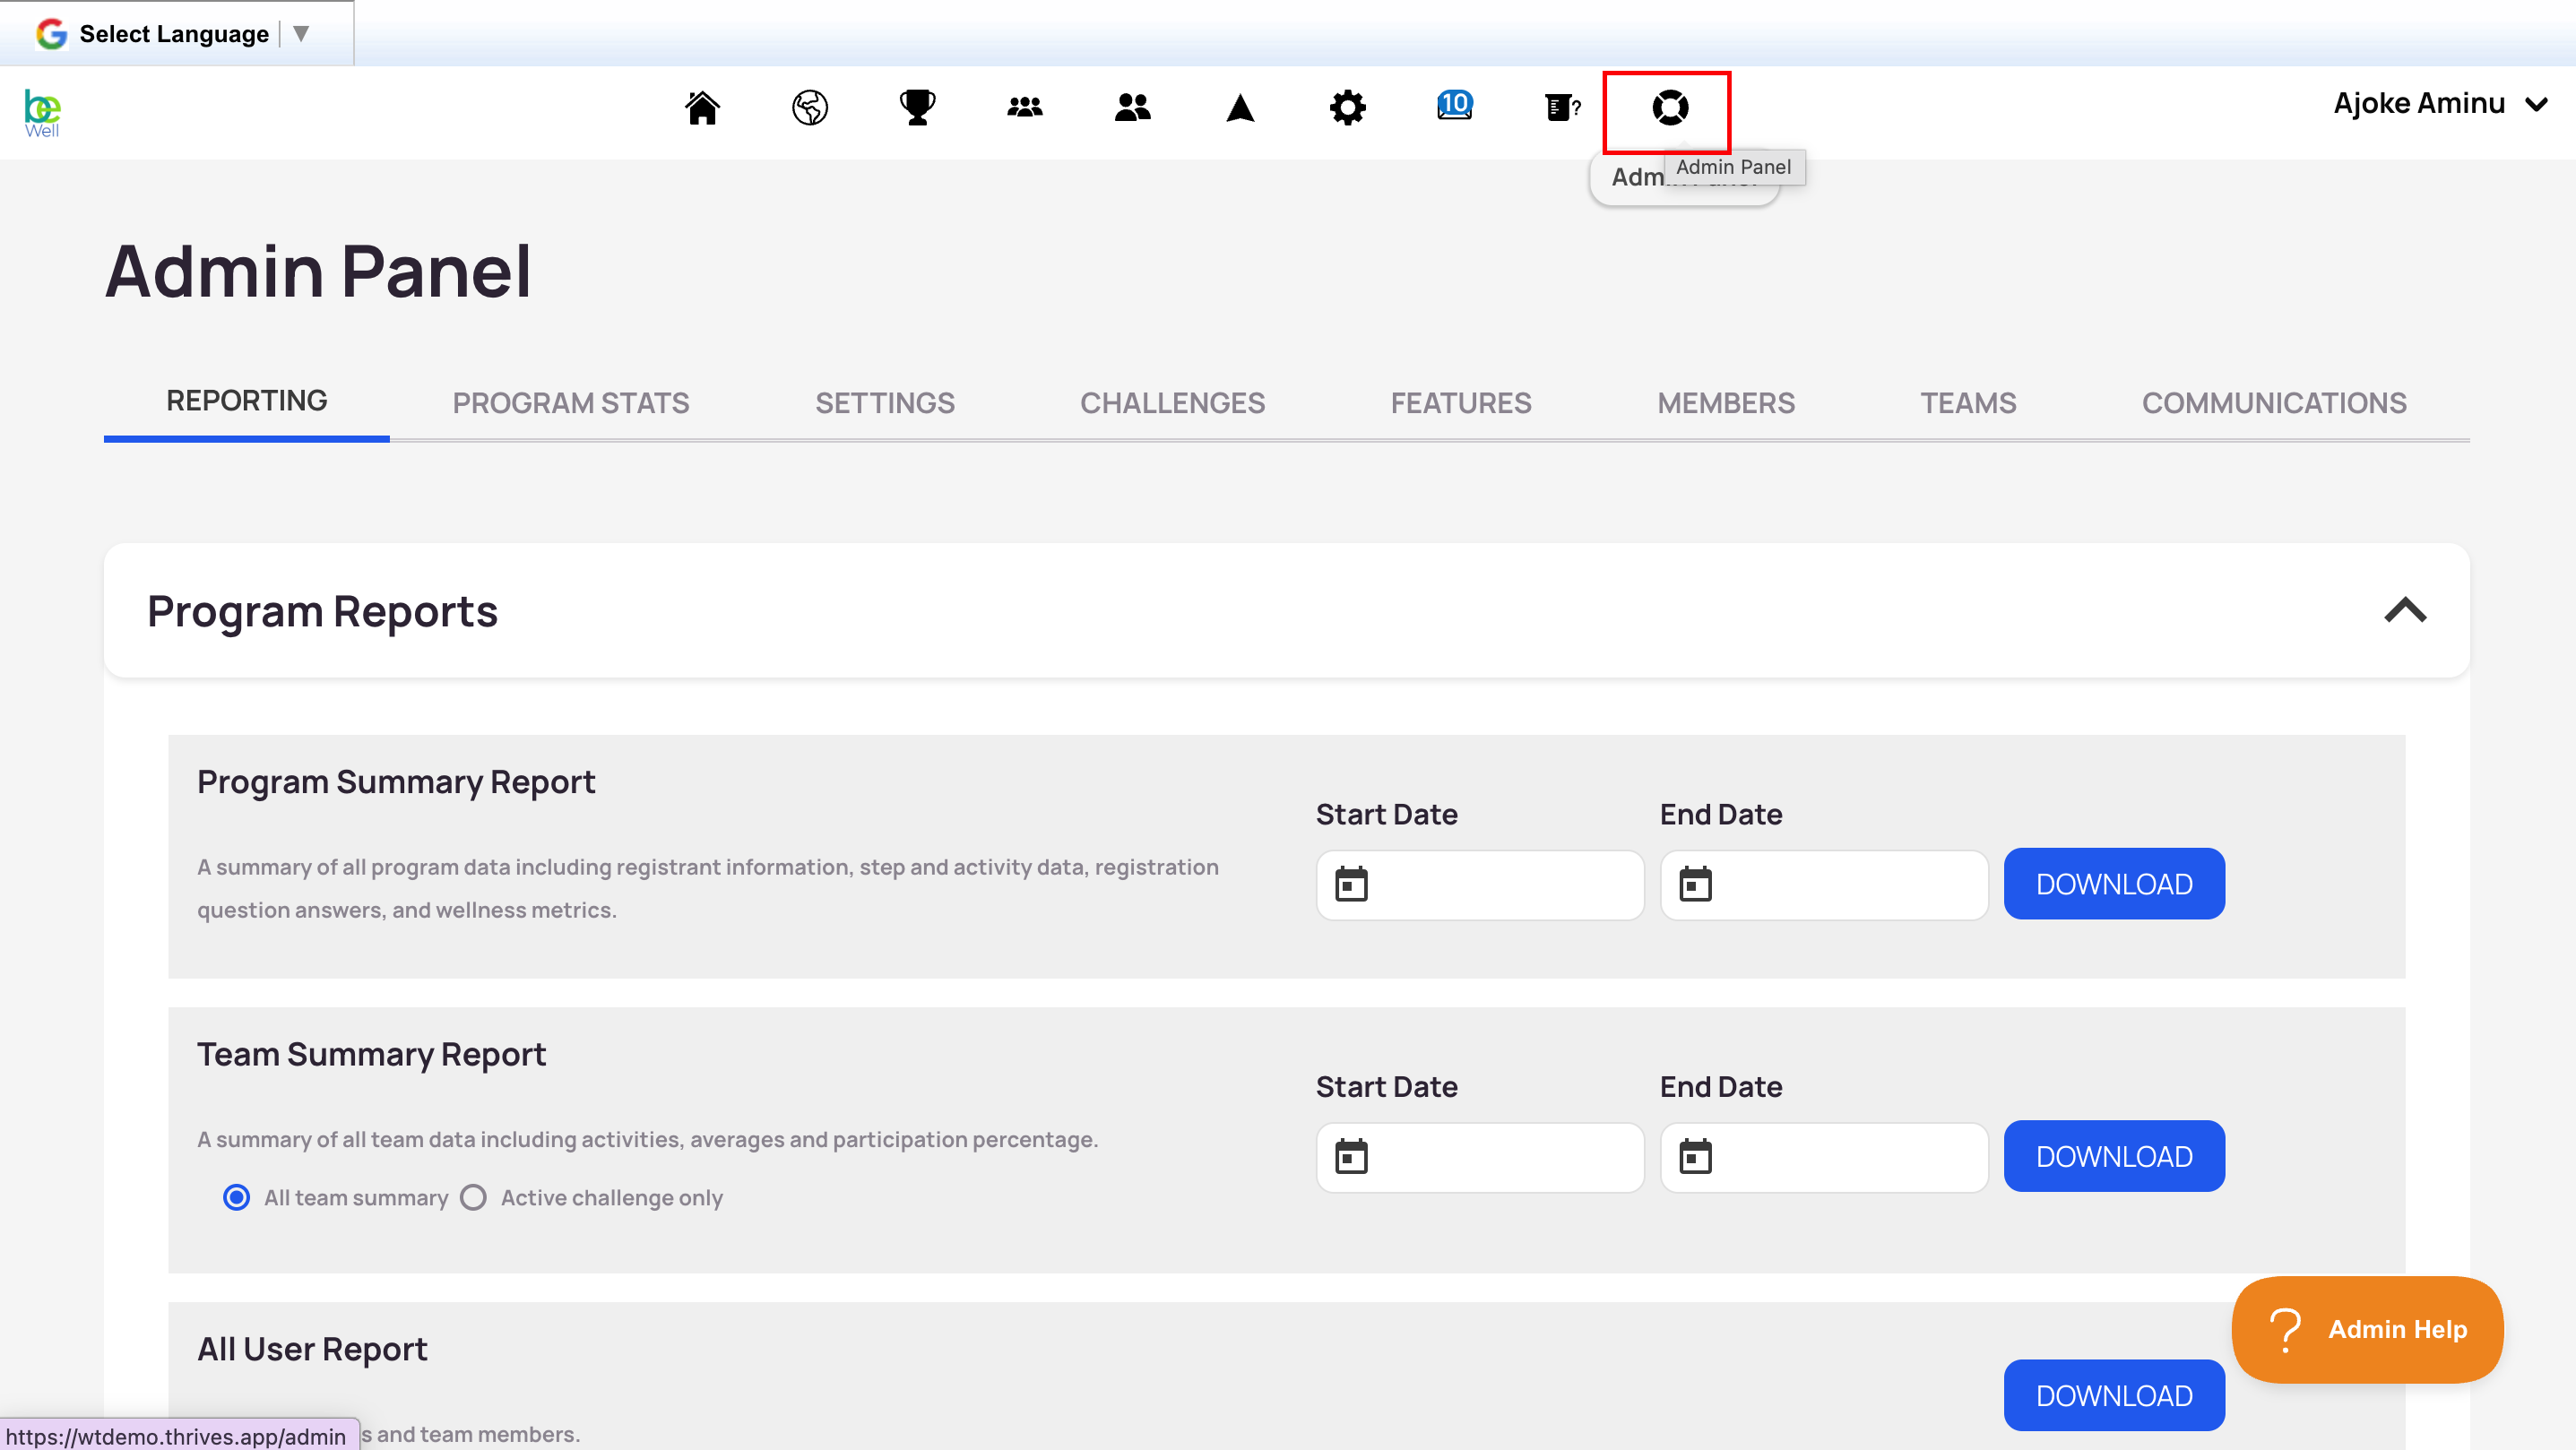
Access the Admin Panel by selecting the Admin Panel view from your account. The tools available to you depend on the permissions assigned to your role.
Before You Begin: System Requirements
To ensure your program runs smoothly, confirm the following with your IT department before launch.
Email allowlisting. Program emails are sent from noreply@be-engaged.co, success@terryberry.com, and wellness@be-engaged.co (note: no "m" at the end). Ask your IT team to add these addresses to your organization's allow list. Emails are delivered from our private Mailgun IP address, 161.38.199.10. Once IT confirms, send yourself a test email from your program to verify messages clear your firewall.
Participants receive emails for a range of reasons, including challenge invites, milestone notifications, friend requests, challenge-ending notices, and direct messages from admins.
Browser. Keep browsers on the most recent version. We support the last two versions of all major browsers.
Downloads and URLs. Reporting is downloaded as Excel spreadsheets from our cloud storage. Ask IT to whitelist the following:
- File storage:
https://walkertracker.s3.amazonaws.com/ - API:
https://apiv3.walkertracker.com/ - Support sites:
*.helpscout.net
Program Settings
Program Settings are the general settings for your program and can be changed at any time.
Note: If you make changes to Program Settings while a challenge is active, your challenge will likely be affected. Adjust with care during live challenges.
Enforce Step Goal. When you enforce a program-wide step goal, every participant's personal step goal is set to the value you choose, and participants see this goal on their Home tab. If you leave it unenforced, participants set their own personal goals. This is separate from a challenge's step goal, which you set when creating a challenge. Thus, the two goals do not interact, and results are reported separately.
Whether or not you enforce the goal, you can download the Program Summary report and reference the "Current Step Goal" column to see each participant's enforced or self-set goal, and the "Days Goal Met" column to see how often they reached it.
Program Time Zone
Set your program time zone by navigating to Admin Panel > Settings > General. Select your time zone and click Save.
What this setting controls. Your program follows this time zone when scheduling the opening and closing of registration and when tallying challenges (48 hours after the challenge end date). Participants can set their own individual time zone.
Participants in multiple time zones. The challenge only counts the day of entry, so all entries made during the challenge dates, according to each participant's own time zone, will count. As a best practice, set the default to the latest time zone among your participants. That gives everyone the same amount of time to reach the finish line before results are tallied.
Capturing Data & Important Dates
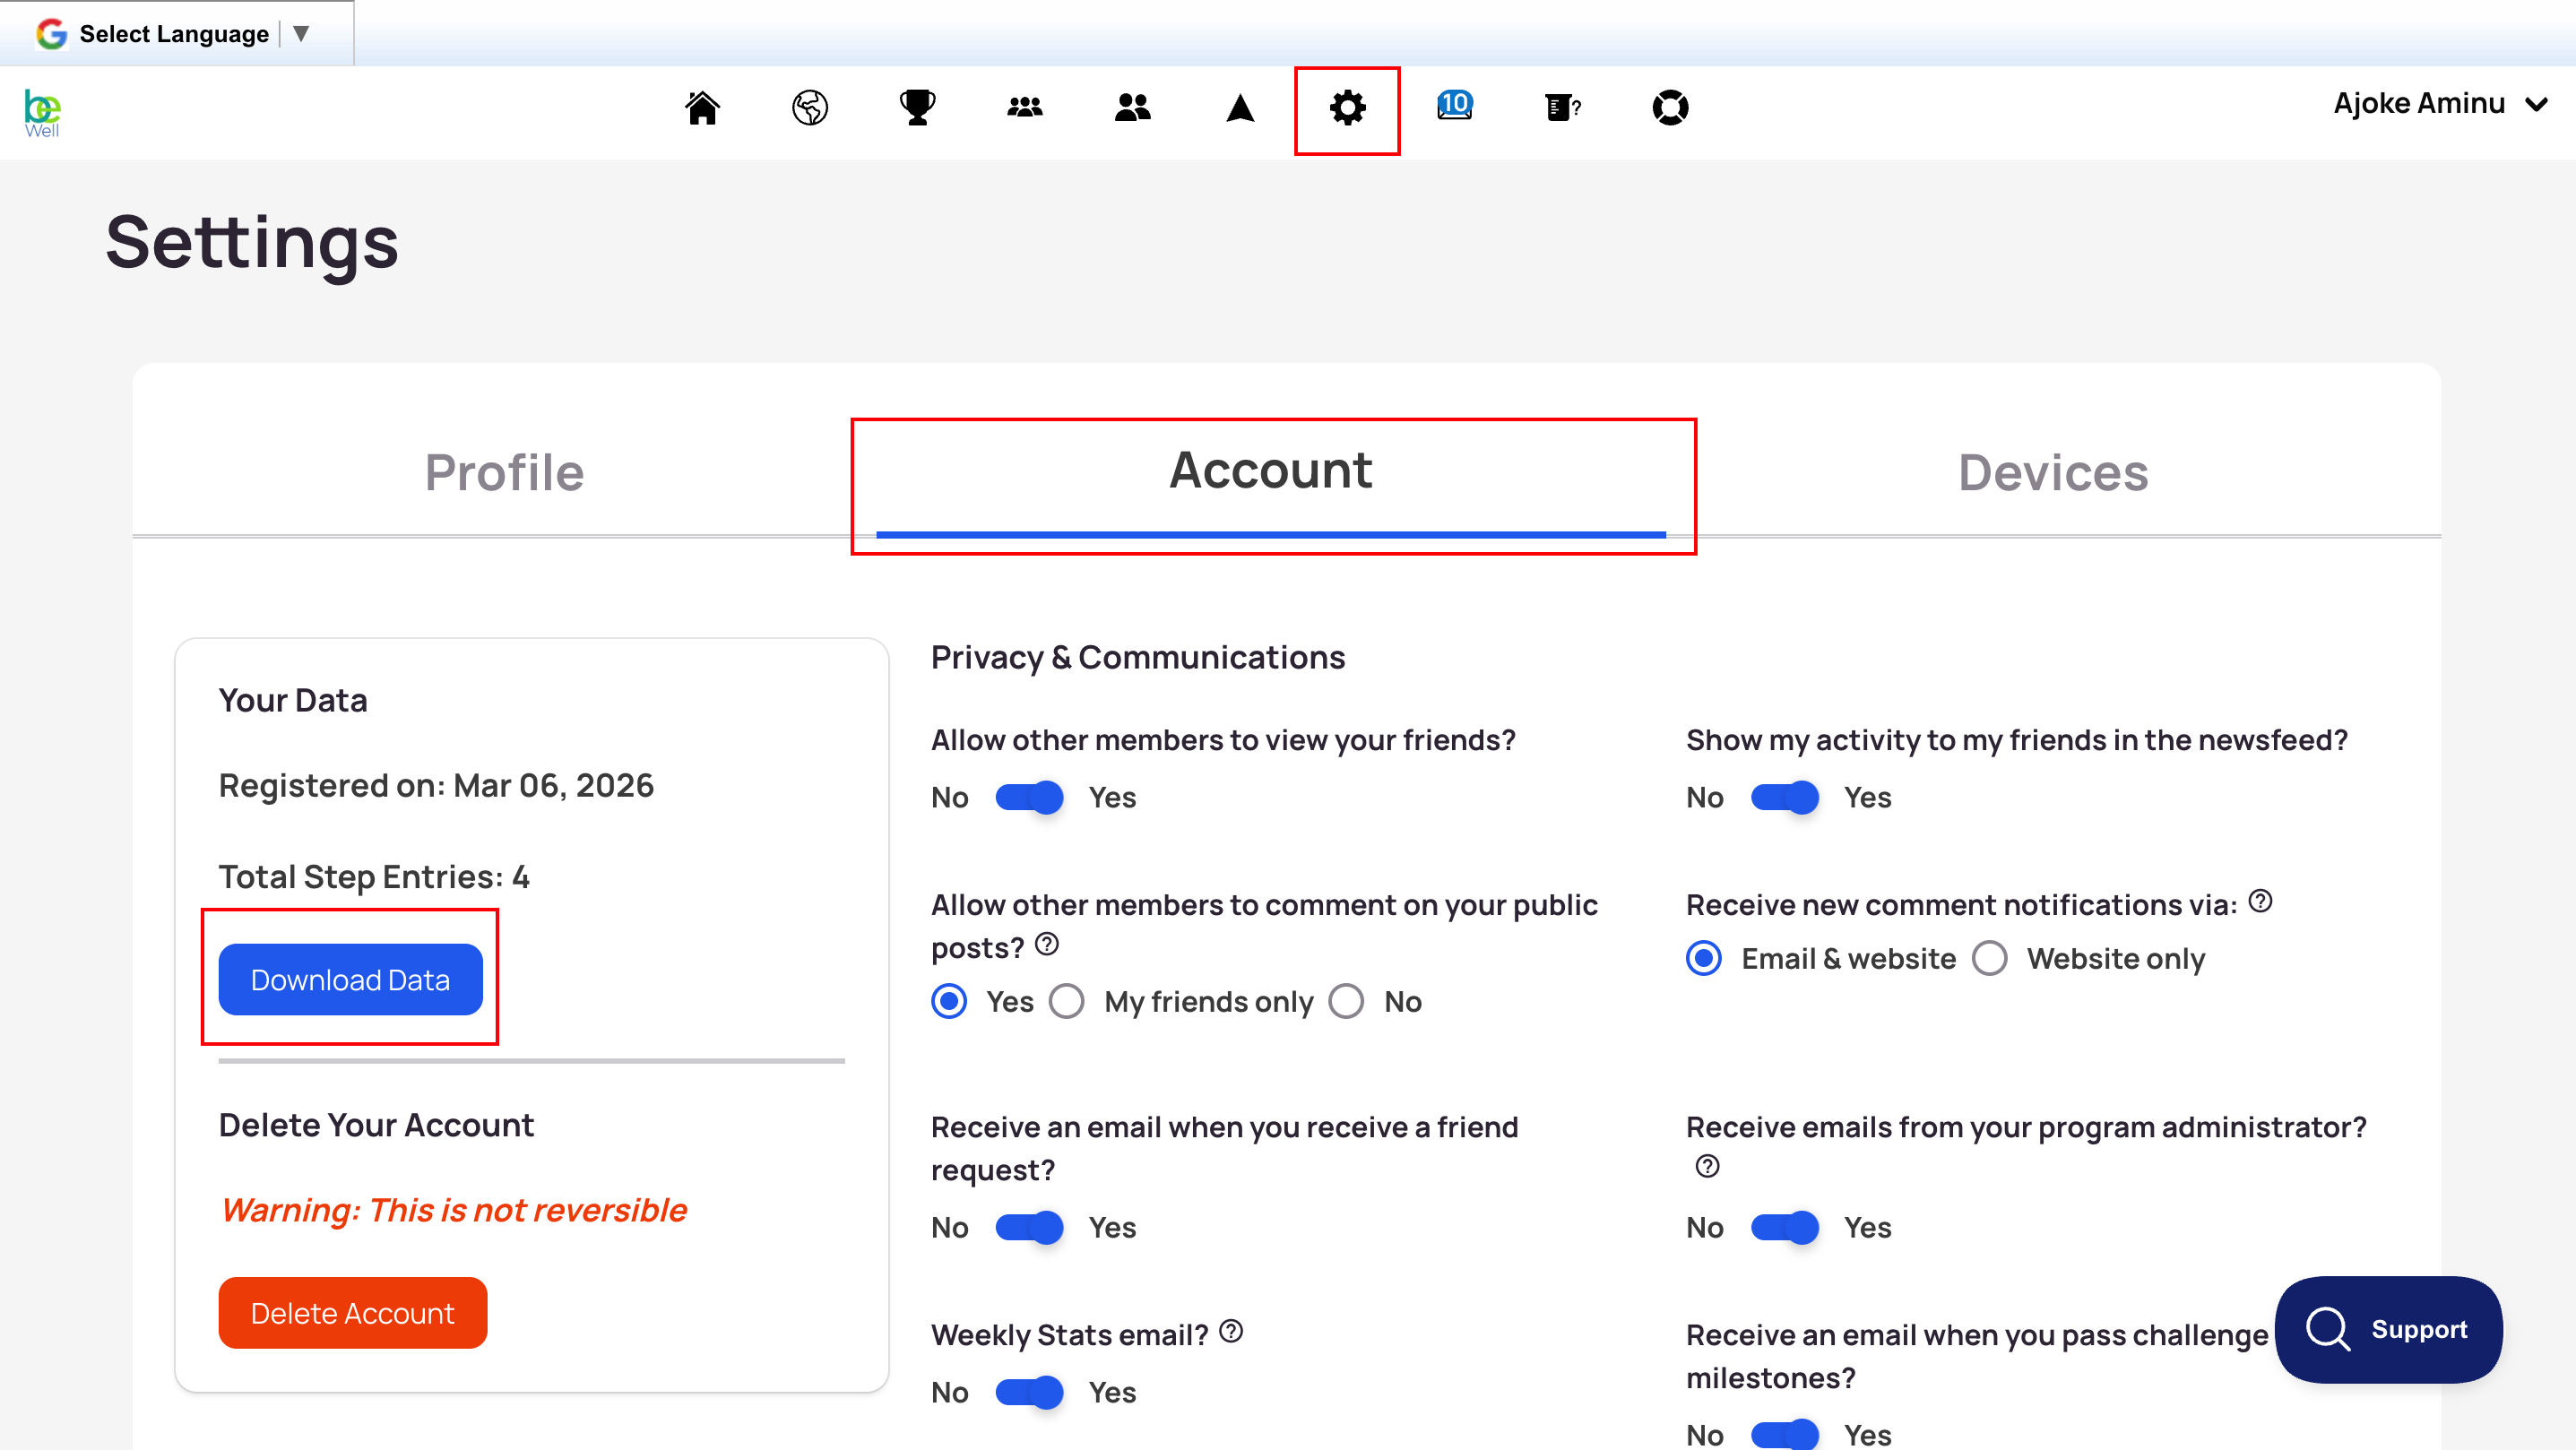
Participants can download all the data they've recorded by logging in via desktop browser and selecting Settings > Account > Download Data.
The distinctions between program, challenge, and team data:
- Program date: Begins the day you receive access to your program. Activity is recorded from this point forward.
- Participant registration date: Steps are recorded from each participant's registration date forward.
- Team creation date: Records team members' steps from the day the team was created.
- Team join date: A participant's steps count toward the team from the day they join forward.
- Challenge dates: Steps count toward a challenge during the challenge's active dates.
Language Translator
Turn on the Language Translator to let participants view the desktop browser in their preferred language.
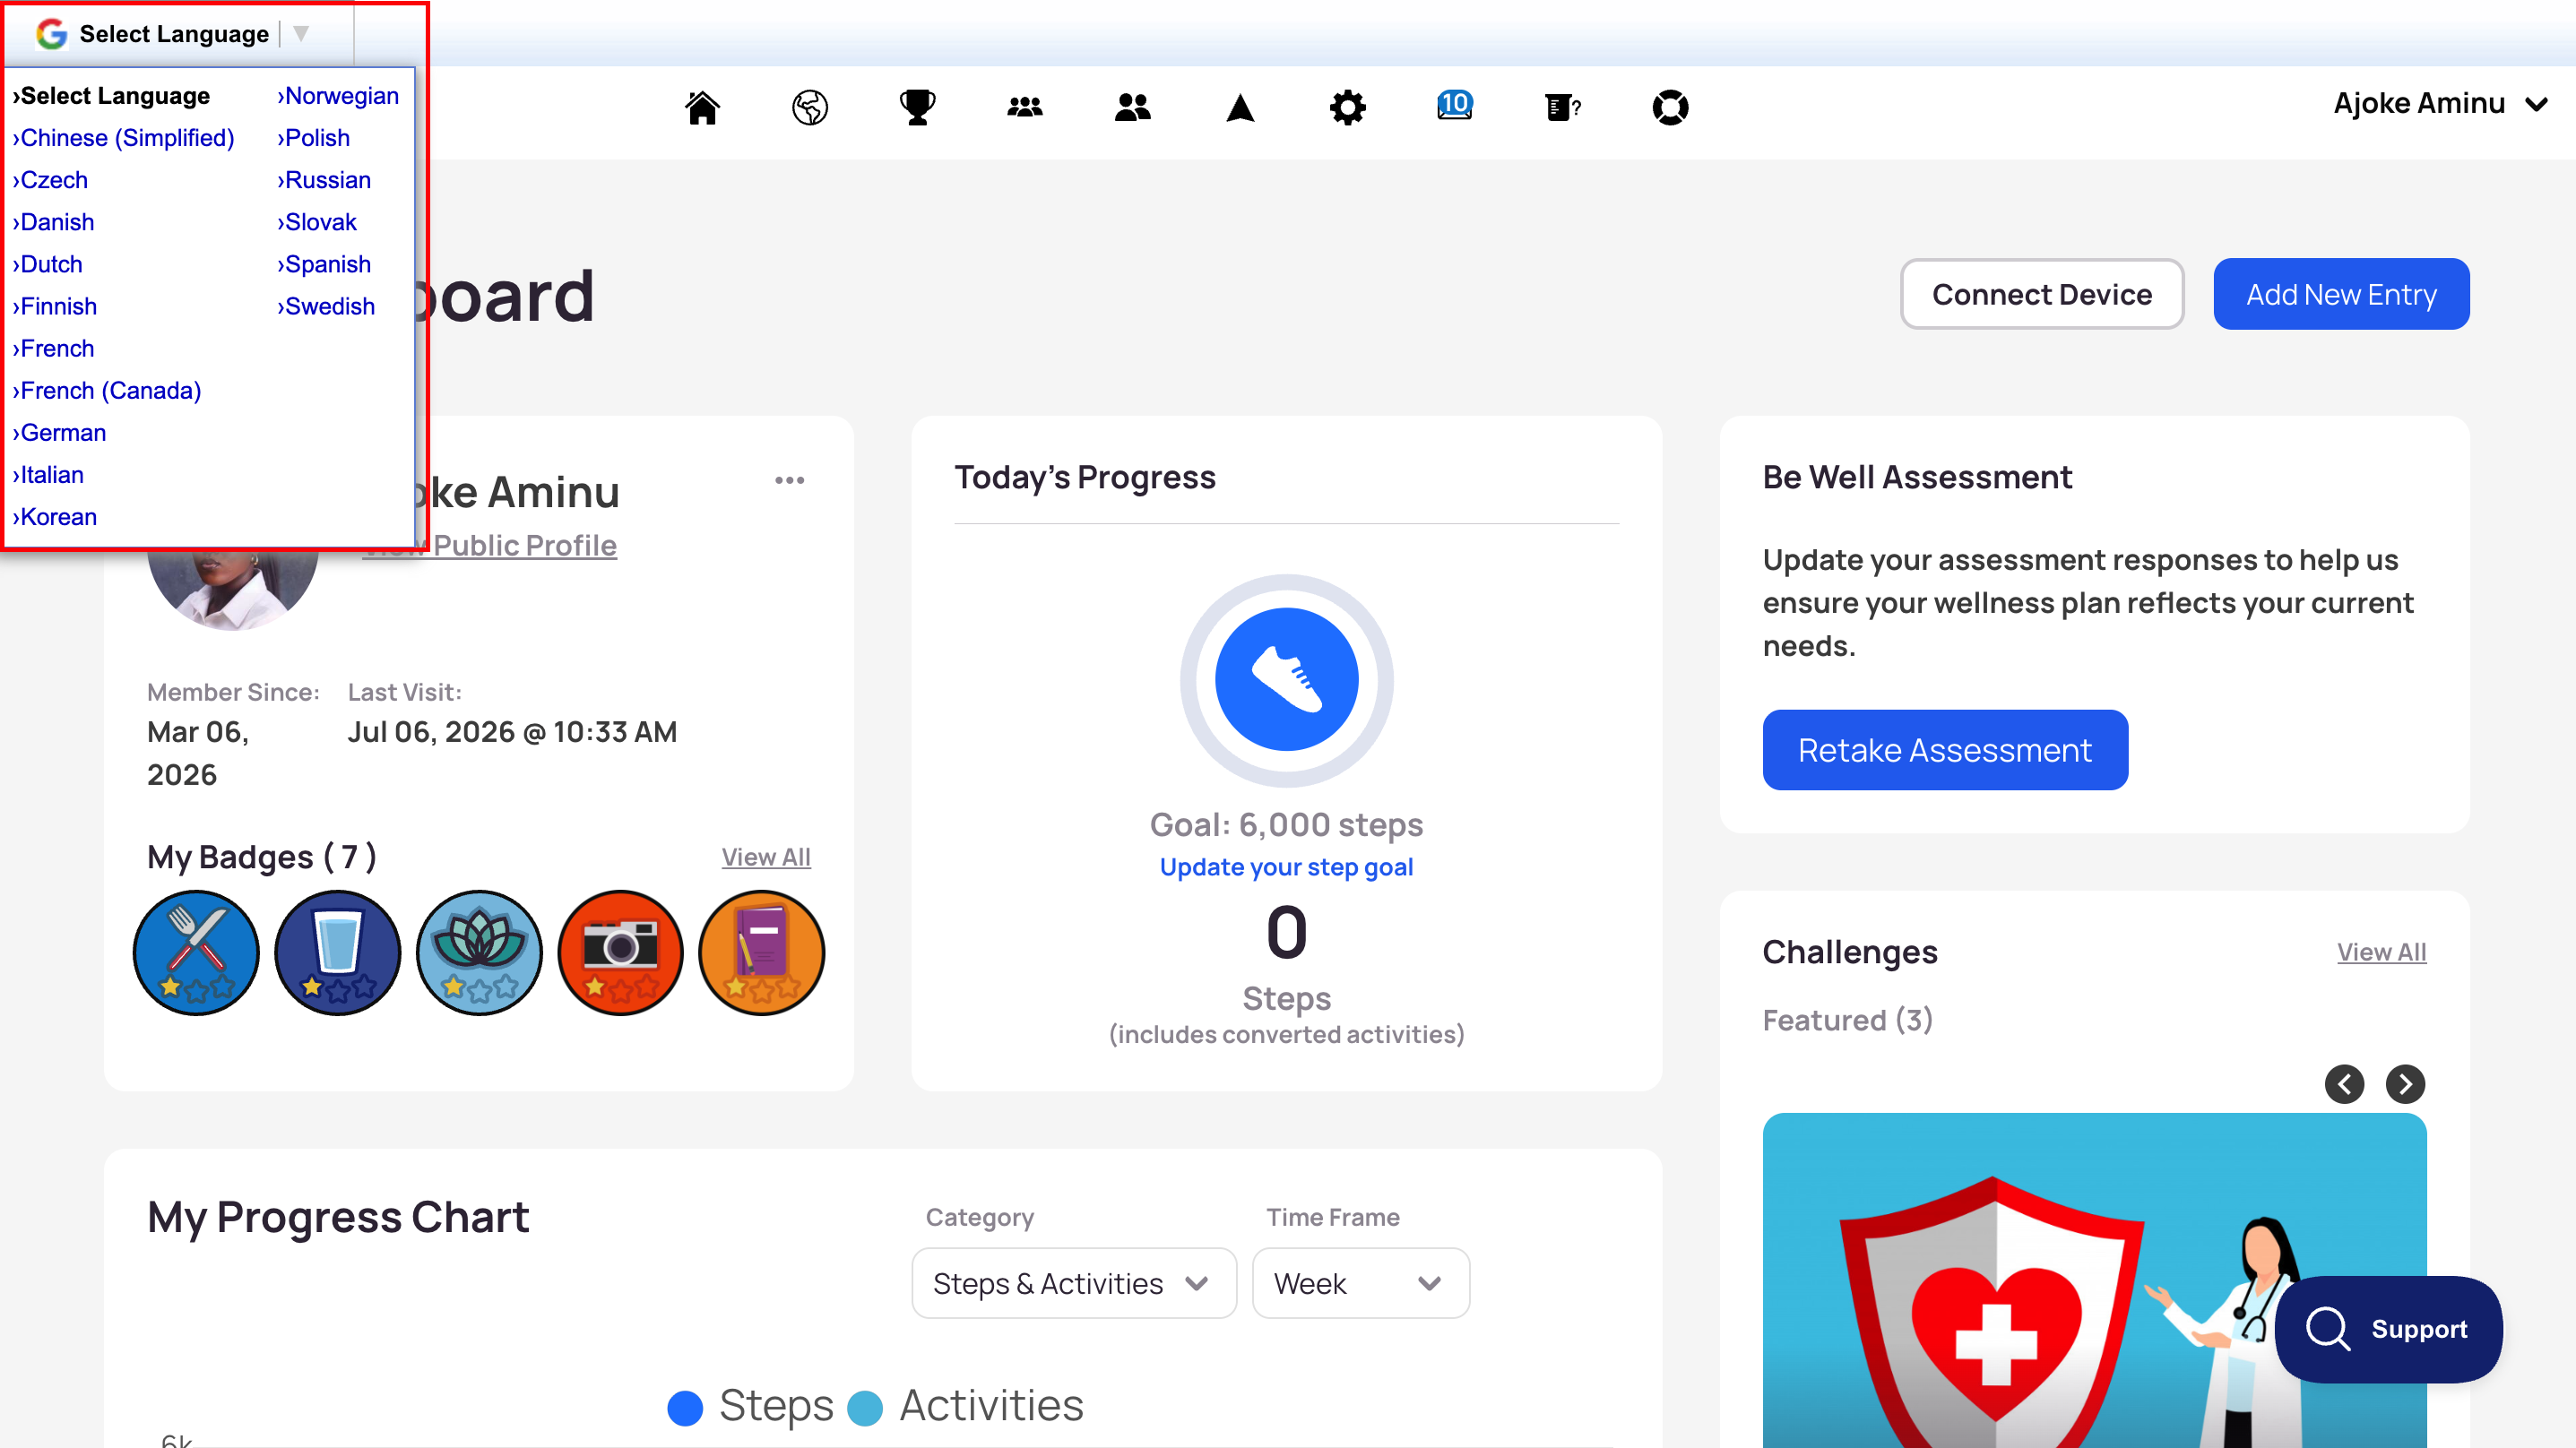
Desktop browser: Navigate to Admin Panel > Settings > Program Settings > Language Translator, toggle it ON, and click Save.
This adds a Google translation extension at the top of the browser for all participants viewing on desktop. Participants select their language from a dropdown. Let your Customer Success Manager know if you'd like to add a language to the list.
Mobile app. To change the language in the mobile app, participants update the language for the Be Well app in their phone's settings.
Related Configuration Pages
Some admin tasks have their own dedicated pages:
- Adding administrators and managing participant records — see Admin Panel.
- Creating and managing challenges — see Challenges.
- Sending notices, emails, and questions — see Communications.
- Program, challenge, and wellness reporting — see Reports.