
Verbiages
The Verbiages section lets you customize the wording that appears throughout the platform (for widgets, prompts, emails, and dashboards). Updating verbiages helps align the platform language with your company’s culture and communication style.
Steps to Update Verbiages
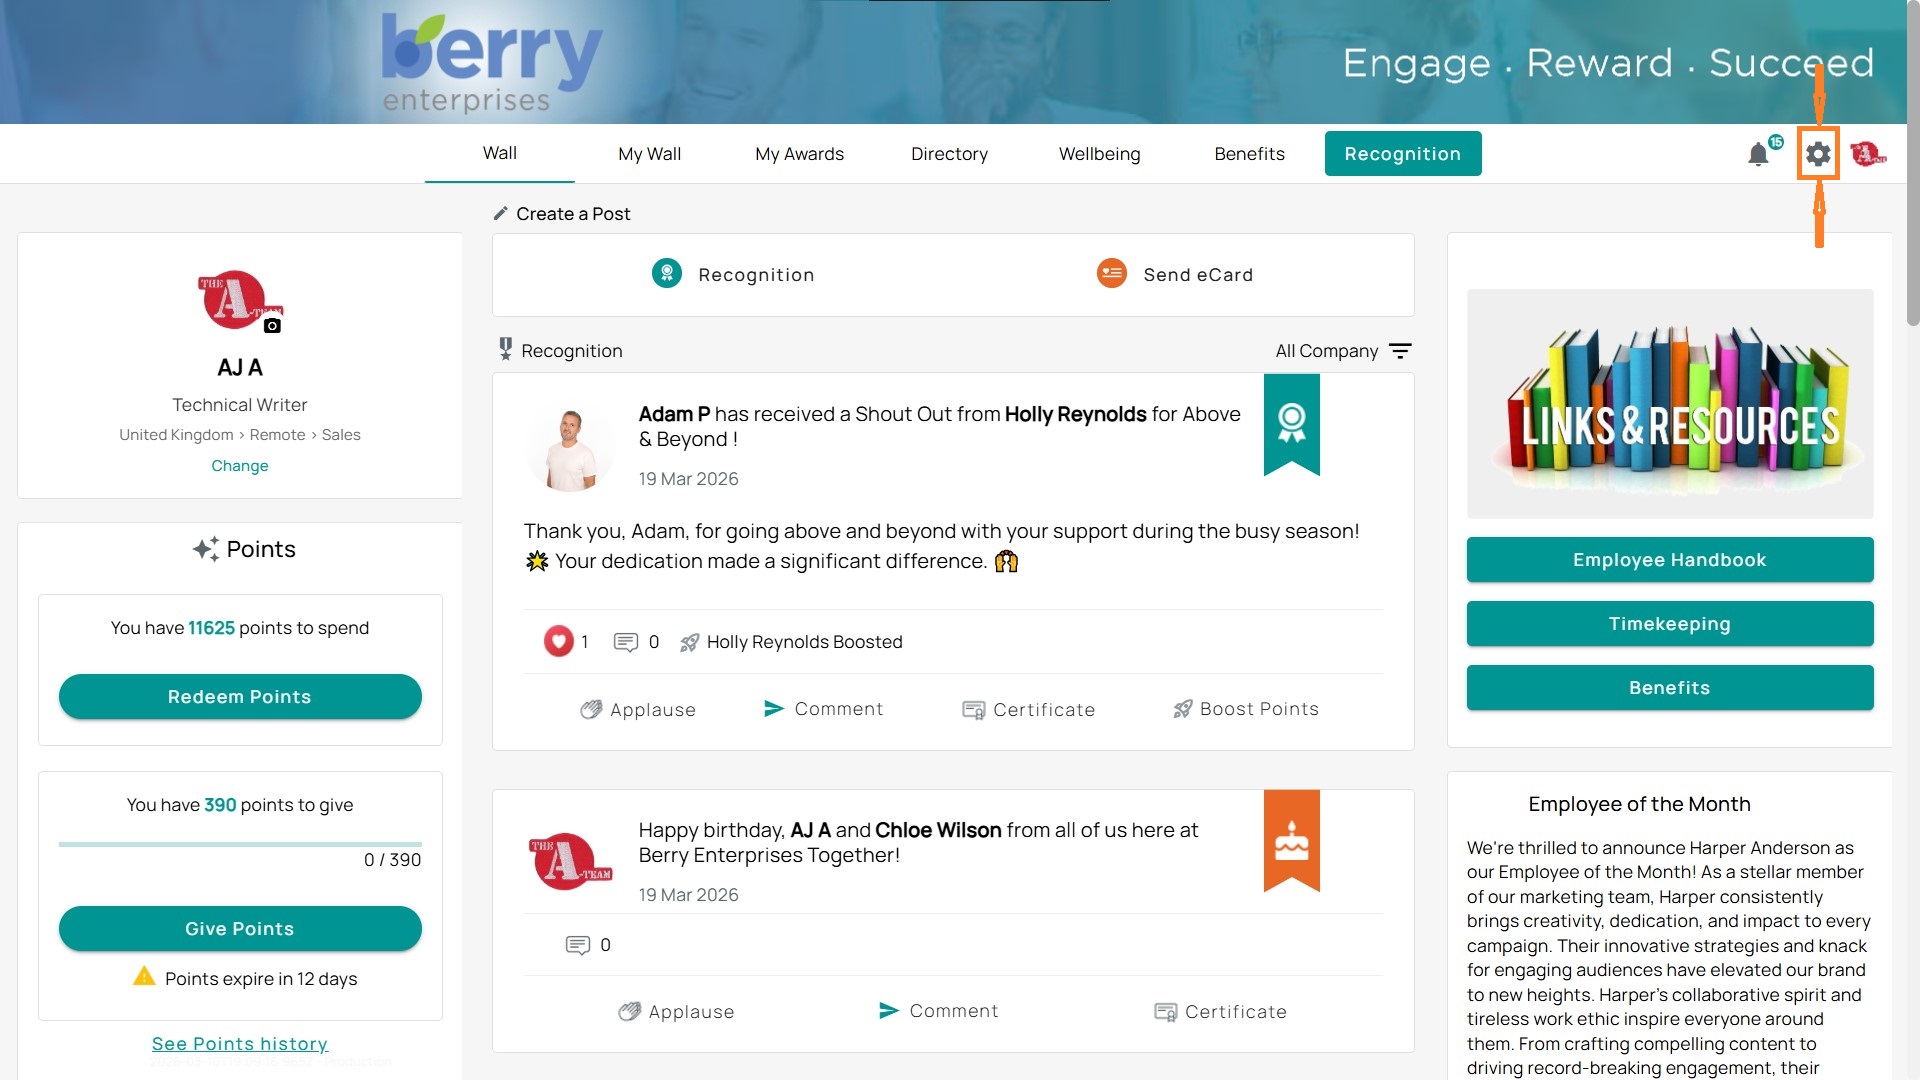
- Open the Admin Gear
Click the gear icon in the top-right corner of your dashboard.
- Navigate to Settings
From the left-hand menu, expand Settings. - Select Verbiages
Click Verbiages to view all available language elements. - Review the Table
You’ll see a list of configurable text items, each with:
- Name – the label or widget the text is tied to.
- Description – what the text controls.
- Custom Value – your overridden text (if any).
- Last Modified – the date the change was made.
- Default Value – the system’s default wording.
- Actions – a pencil icon to edit.
Examples from your environment:
- EmailFooterForMobileApps → default = Download the Be Recognized App
- GivePointsWidget → default = Give Points
- ProgramName → default = Be Recognized
- ManagerDashboardWidget → default = View recognition and engagement stats for your…
Edit a Verbiage
- Click the pencil icon in the Actions column.
- Enter your new Custom Value (this replaces the default wording).
- Save changes — a success banner will confirm.
Add a New Setting (optional)
- Click + Add New Setting at the top.
- Select the verbiage you want to add from the dropdown.
- Provide your custom text and save.
- The new item will appear in the table with your override.