
How to Access Be Well
Be Well is available on Android, iPhone, and any web browser. This guide walks you through downloading the app or accessing the web version, registering your account, and completing the basic setup so you can start tracking activity and taking part in challenges. Choose the section below that matches how you'll be using Be Well.
A note on account creation: your Be Well account is shared across all platforms. If you've already registered on one, for example, through a web browser, you don't need to create a new account on mobile. Simply log in with your existing email or username and password.
Android
If you'd like to use Be Well on your Android phone, follow this guide to get set up.
1. Download the app
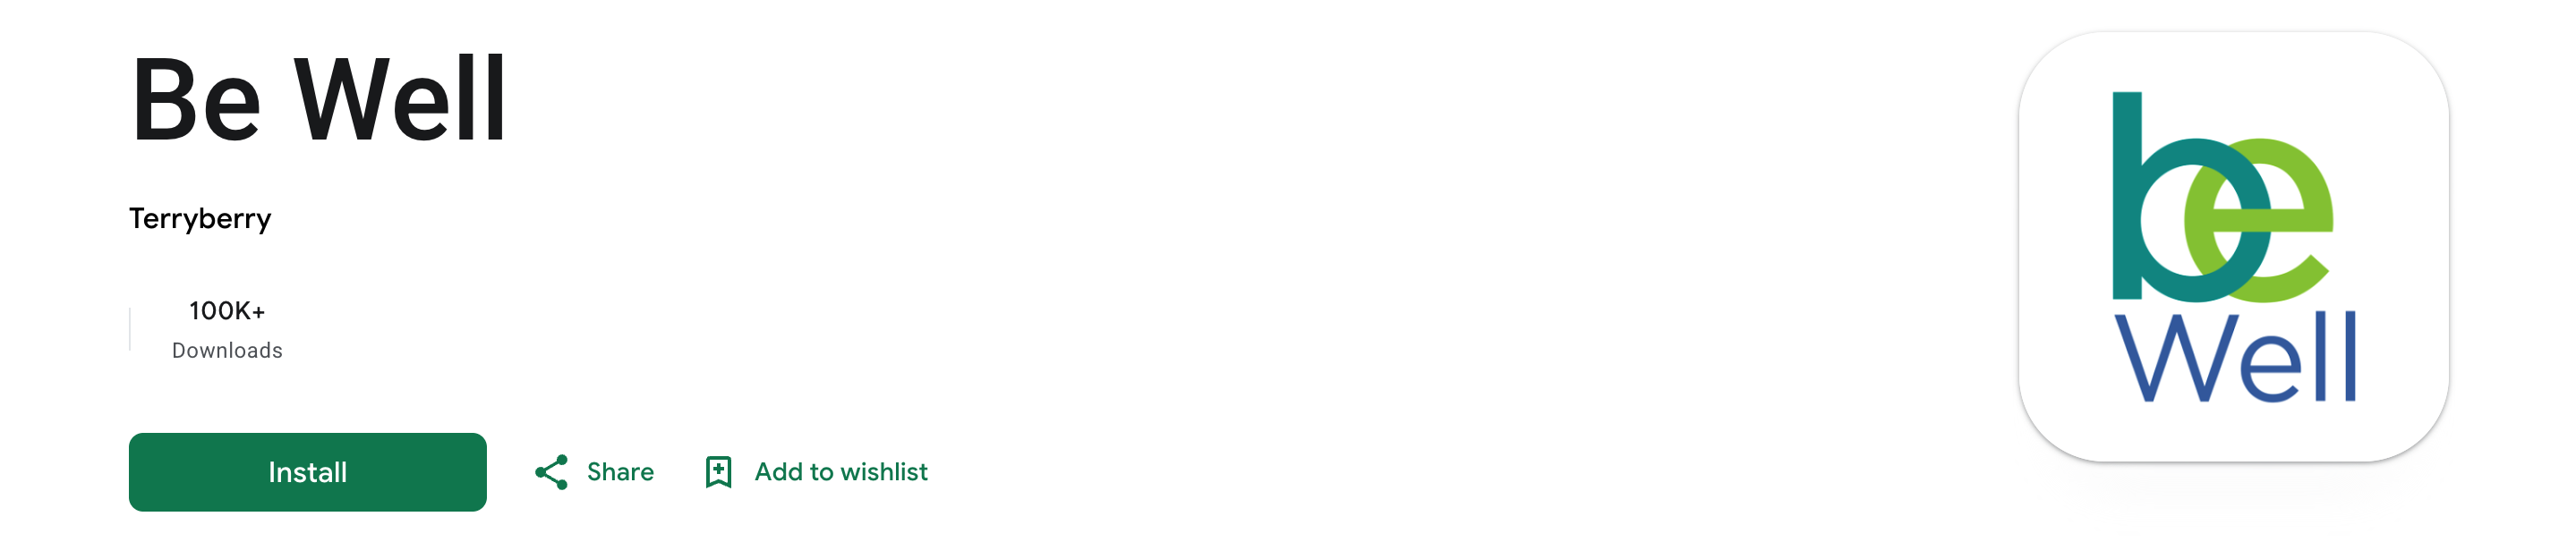
Open the Play Store on your device and search for Terryberry Be Well, published by Terryberry. You may need to scroll to find it in the results. Tap Install, then grant the permissions the app requests when prompted.
2. Register an account
Open the Be Well app. If you're new, you'll need to create an account. On the bottom of the login screen, select Login with email and follow the prompts. If you already have an account, select either Login with email or Login with username/password and continue to the next step.
3. Upload a profile photo
Add a profile photo so others can recognize you. From the app, open the hamburger menu (three horizontal lines) in the top-left corner, then tap the grey circular image. You'll have the option to take a photo or choose one from your library.
4. Choose a step tracking option
Once you're in your account, choose how you'd like to track your steps. You can connect a device or app to sync your steps automatically, see [Connecting Devices & Apps]. If you'd prefer to enter steps manually, you can do so as long as no device or app is connected to your account.
Manual step entry isn't available in all programs. Check with your program admin to confirm whether this option is available to you.
5. Create a daily entry
You can log steps, activities, wellness metrics, journal entries, and photos. The entries available to you depend on which metrics your program tracks. If no device is connected and your program allows manual entry, you can add steps here. See [Making a Step or Wellness Entry].
6. Add friends
Adding friends lets you engage with other members through Be Well's social features. Tap the Groups icon (two people), search by username, and select Add Friend. See [Adding Friends & Commenting].
7. Join a challenge
If you didn't join a challenge at registration, you can join one at any time. To take part in a team challenge, join a team associated with it. Check with your program admin to confirm how challenges are organized and when they open. See [Joining a Challenge] and [Joining a Team Challenge].
Every challenge has a date range that determines which days count toward it. Entries logged before the challenge starts are fine, as they they won't affect your challenge total.
8. Get moving and view your progress
Once you're comfortable making entries and you've joined a challenge, focus on the main event: being active.
Spend some days walking, sharing trail photos, and logging your activities. Once you've built up some data, check your dashboard to see your progress charted over time. Tap the Trophy icon to open a challenge page. If you're on a team, tap the Groups icon and select your team name to view your team's average and cheer on your teammates.
iPhone
If you'd like to use Be Well on your iPhone, follow this guide to get set up and moving.
1. Download the app
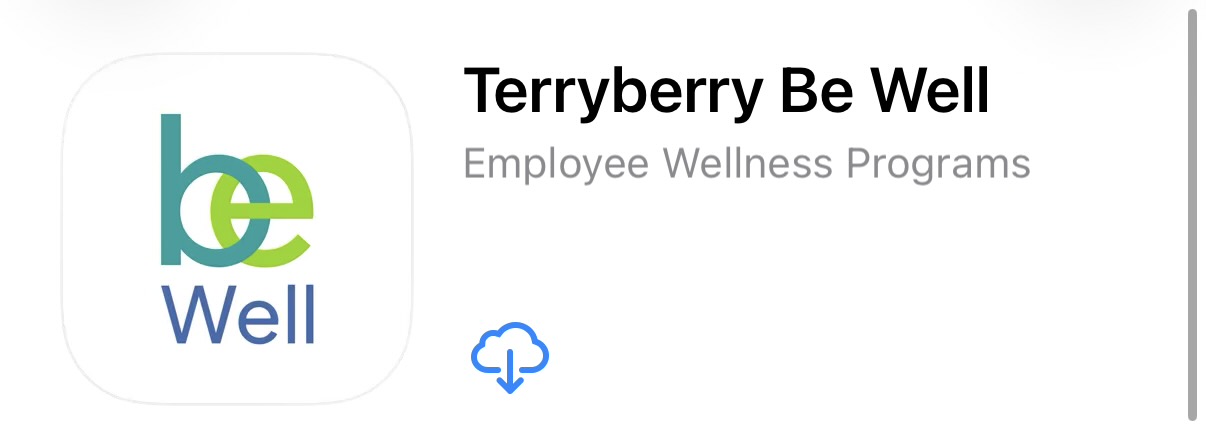
Open the App Store on your device and search for Terryberry Be Well, published by Terryberry. You may need to scroll to find it. Tap the download icon (a cloud with a downward arrow), then open the app.
2. Register an account
Open the Be Well app. If you're new, you'll need to create an account. On the bottom of the login screen, select Login with email and follow the prompts. If you already have an account, select either Login with email or Login with username/password and continue to the next step.
3. Upload a profile photo
Add a profile photo so others can recognize you. From the app, open the hamburger menu (three horizontal lines) in the top-left corner, then tap the grey circular image. You'll have the option to take a photo or choose one from your library.
4. Choose a step tracking option
Once you're in your account, choose how you'd like to track your steps. You can connect a device or app to sync automatically — see [Connecting Devices & Apps]. If you'd prefer to enter steps manually, you can do so as long as no device or app is connected.
Manual step entry isn't available in all programs. Check with your program admin to confirm whether this option is available to you.
5. Create a daily entry
You can log steps, activities, wellness metrics, journal entries, and photos. The entries available depend on which metrics your program tracks. If no device is connected and your program allows manual entry, you can add steps here. See [Making a Step or Wellness Entry].
6. Add friends
Adding friends lets you engage with other members through Be Well's social features. See [Adding Friends & Commenting].
7. Join a challenge
If you didn't join a challenge at registration, you can join one at any time. To take part in a team challenge, join a team associated with it. Check with your program admin to confirm how challenges are organized and when they open. See [Joining a Challenge] and [Joining a Team Challenge].
Every challenge has a date range that determines which days count toward it. Entries logged before the challenge starts won't affect your challenge total.
8. Get moving and view your progress
Once you're comfortable making entries and you've joined a challenge, focus on being active.
Spend some days walking, sharing photos, and logging your activities and wellness metrics. Once you've built up some data, check your dashboard to see your progress charted over time. Tap the Trophy icon to open a challenge page. If you're on a team, tap the Groups icon and select your team name to view your team's average and encourage your teammates.
Web browser
If you'd like to use Be Well in a web browser, follow this guide to get set up and moving.
1. Register an account
Navigate to your program URL, formatted like example.thrives.app or example.360recognition.com, with "example" replaced by your program name. If you don't know your URL, check your invitation email or ask your local admin.
Click Register or Create an account. On the next screen, enter your name, a unique email, a username, and a password. Depending on your program, you may be asked to choose an organization and team. Answer any additional questions, agree to the Terms of Service and Privacy Policy, and confirm your registration.
If you already have an account, log in instead and continue to the next step.
2. Upload a profile photo
Add a profile photo so others can recognize you. Click your name in the top-right corner of the screen to open your settings, then click Change Picture beneath your profile photo.
3. Choose a step tracking option
Once you're in your account, choose how you'd like to track your steps. You can connect a device or app to sync automatically — see [Connecting Devices & Apps]. If you'd prefer to enter steps manually, you can do so as long as no device or app is connected.
Manual step entry isn't available in all programs. Check with your program admin to confirm whether this option is available to you.
4. Create a daily entry
Through the web interface, you can log steps, activities, and wellness information, and add text entries and a photo to a specific date. The fields available depend on which metrics your program tracks. If you're in a Points challenge, you'll earn points by logging wellness metrics through these entries. See [Making a Step or Wellness Entry].
5. Add friends
Adding friends lets you engage with other members through Be Well's social features. See [Adding Friends & Commenting].
6. Join a challenge
If you didn't join a challenge at registration, you can join one at any time. To take part in a team challenge, join a team associated with it. Check with your program admin to confirm how challenges are organized and when they open. See [Joining a Challenge] and [Joining a Team Challenge].
Every challenge has a date range that determines which days count toward it. Entries logged before the challenge starts won't affect your challenge total.
7. Get moving and view your progress
Once you're comfortable making entries and you've joined a challenge, focus on being active.
Spend some days walking, sharing trail photos, and logging your activities. Once you've built up some data, check your dashboard to see your progress charted over time. Select the Challenge tab to view a leaderboard showing you alongside other competitors across different activity levels. If you're on a team, select the Teams tab, then your team name, to view your team's average and encourage your teammates.