
Notifications
Configure Welcome Aboard Notification Template
The Welcome Aboard template is the email new users receive when they join your Be Recognized program. As an admin, you can customize it with your own details, recognition tips, or helpful links. This is often the first impression of your program, so make it welcoming and informative.
How to Configure
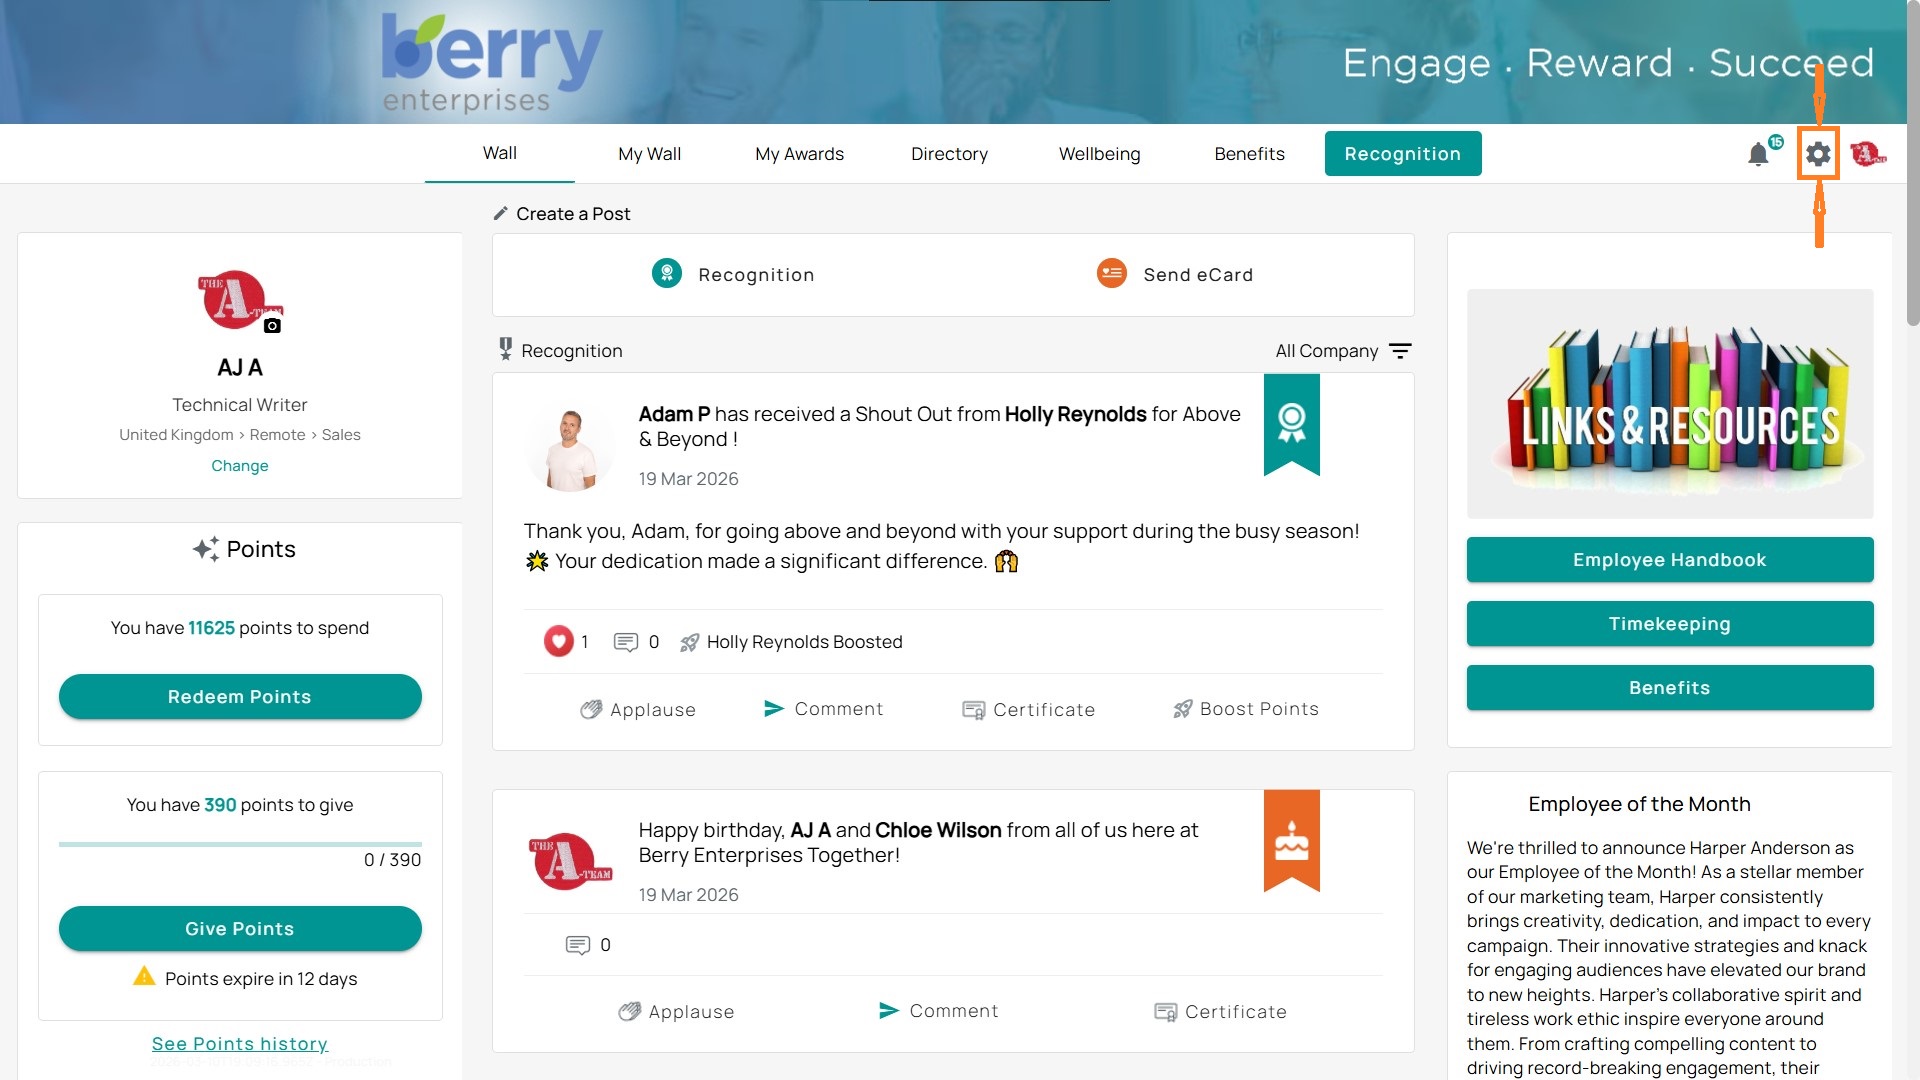
- Open the Admin Gear in the top right.
- On the left panel, select Communications → Welcome Aboard Template.
Use the Subject field to add a personalized greeting. For example:
Welcome, {{{Recipient.PreferredName}}}!
- This pulls in each user’s name automatically.
- In the Content area, add your message. You can include:
- Program name (e.g., {{{Verbiage.ProgramName}}})
- Company name (e.g., {{{Recipient.CompanyName}}})
- Login link (e.g., {{{LoginLink}}})
- Username (e.g., {{{Recipient.UserName}}})
- Other options from the Insert Information menu (Images, Sender Name, Password Reset Link, Points Balance, etc.).
Example:
Image
- On the right, you’ll see a live preview of how the email will look for your users.
- Once you’re happy with the setup, click Save.
Recipient Options
- Main: Standard template for employees.
- Manager: A separate version tailored for managers (you might include reminders about recognizing their teams).
Edit Notification Templates
Update templates for recognition events, service anniversaries, or awards. Maintain consistent voice and branding.
Steps to Configure
- Click the Admin Gear in the top right.
- On the left-hand menu, select Communications.
- Click Notification Templates.
- You will see a list of notification types (e.g., AccessCode, Award, Queue Notifications). Each type can contain multiple templates.
- Expand a notification type to view its templates.
- Use the Edit (pencil icon) to update template content, or the Trash (delete icon) to remove a template.
Editing a Template
- When editing, you can customize the subject line and body of the message.
- Use the Insert Information dropdown to include dynamic fields such as:
- Recipient’s preferred name
- Company name
- Program name
- Login link
- Award details
- Always click Save after making changes. Use Refresh Preview to see how the message will appear.
Recipient Options
Main: Standard template for employees.
Manager: A separate version tailored for managers (you might include reminders about recognizing their teams).
Example Use Cases
- Update award notification emails with a personal message from leadership.
- Add login links to access codes for quicker user onboarding.
- Customize Slack or Teams messages to highlight program branding.
Using the Notification Center
Notifications keep employees and managers informed about recognition activities, awards, points, and announcements. You can view, open, and adjust notification settings to fit your preferences.
Viewing Notifications
- Click the bell icon in the top navigation bar.
- A side panel will display your most recent notifications, including nominations to review, company announcements, and recognition updates.
- Select Show all to view your full history.
Managing Notifications
- From the notifications panel, click the three dots (…) menu.
- Options include:
- Mark all as read to clear your list.
- Settings to adjust how and where you receive notifications.
- Open notifications to expand into a full-page view for easier browsing.
Notification Settings
You can decide which types of notifications you want and how they are delivered (email, in-app, push, or SMS, depending on your setup). Notifications may also be integrated with Microsoft Teams or the RedeApp mobile app, depending on your program configuration.
Available categories include:
- Recognition Notification Settings: Choose alerts for new recognition, comments, applause, eCards, birthdays, and recognition reports.
- Awards Notification Settings: Configure updates for service awards, order confirmations, award redemptions, or shipping updates.
- Points Notification Settings: Get notified for point allocations, expiring points, reminders, and boosts.
- Manager Notification Settings: Special alerts for managers, including nomination reviews and team engagement reports.
- Account Notification Settings: Account-related emails, such as welcome messages.
- Announcements Notification Settings: Alerts for company-wide announcements.
Each category includes an Apply to all option if you want to apply the same delivery method across all notifications in that section.
Opting In or Out
Within each notification type, you’ll see two icons you can toggle:
- Envelope icon: Opt in or out of email notifications.
- Phone icon: Opt in or out of push notifications (mobile or in-app).
How To Resend Notifications
Sometimes an employee may miss or accidentally delete an important notification. Instead of creating a new one, you can quickly resend the original message right from the Communications Center. Here’s how:
Step 1: Open Communications Center
- Click the Admin Gear in the top-right corner.
- From the left menu, select Communications → Communications Center.
Step 2: Search for the Recipient
- Each column is searchable.
- Start typing a recipient’s name in the Recipient field.
- A dropdown will appear with matching users. Select the correct name.
Step 3: Locate the Message
- Once filtered, find the message you want to resend in the list.
- Click View next to that message.
Step 4: Review Recipient Email
- A preview of the notification will open.
- Scroll down to the Send To box to verify the email address.
- You can edit this field if you need to forward the notification to another email (for example, a corrected address).
- This won’t change the original program records — it only affects this one resend.
Step 5: Resend the Notification
- At the bottom, click Resend.
- A confirmation box will appear. Select Continue.
Step 6: Confirmation
- You’ll see the resent message appear at the top of the Communications Center.
- A green banner will confirm: Message sent successfully.
Tip: Use this process to fix delivery issues, forward to managers, or resend reminders without disrupting program data.